It is 9:40 on a Thursday night when a message lands: “Hi, are you free on the 14th, and what do you charge?” You answer from the couch, promise to send prices in the morning, and then the morning fills up. Ten days later you remember. By then she has booked somebody else.
Nothing was wrong with your work. What went wrong was the gap between interested and booked, and a client onboarding checklist closes it. It is the same seven steps for every new client, in the same order, with a note of what you sent and when. It suits a salon, a photographer, an event planner or a tutor, on paper or in software.
What should a client onboarding checklist include?
Seven steps: inquiry, quote, booking, deposit, intake details, reminders and follow-up. Each one has two halves. There is the thing you send the client, and the thing you write down for yourself. Skipping the second half is how a lead vanishes or a deposit goes unrecorded.
Keep one record per client from the first message onward, in one place: a card, a spreadsheet row or a profile in an app.
Step 1: Log every inquiry on the day it arrives
Write down five things, even before you reply:
- Name and how to reach them
- Where they found you (Instagram, a referral, your website, a wedding fair)
- What they want, and the date they want it
- Their budget, if they mention one
- The date they asked
Then reply within one working day, using a saved message you can personalize in a minute.
The “where they found you” note pays off after a few months. Say you get 20 inquiries a month and book 8. That is a 40 percent booking rate. If referrals book 7 times in 10 and Instagram 2 times in 10, you know where your next hour of marketing should go. A photography studio manager that shows booking rate by source works this out for you, but a tally on paper tells you the same thing.
Step 2: Send a clear quote with a follow-up date
A good quote answers the questions a client would otherwise text you about:
- What is included, and what is not
- The price, and how long the quote is valid
- The deposit, and when the balance is due
- The one next step (“Reply yes and I will send the booking form”)
Two or three packages make deciding easier than a single take-it-or-leave-it price.
Then write down a follow-up date, usually three or four days later. A quote without a follow-up date is a hope, not a plan.
Step 3: Confirm the booking in writing
Once they say yes, send a confirmation with the date, time, place, service, price and your policies on cancelling, rescheduling and late arrival. For bigger jobs such as weddings, events and shoots, use a written contract. A template is a starting point; have yours checked for your region before you rely on it.
Put the booking on your calendar right away, with travel and setup time around it. This is the moment that prevents the double-booked Saturday, where two clients each hold a confirmation from you for the same afternoon.
Step 4: Take the deposit and record it
A deposit turns a maybe into a commitment. Record four things: the amount, the date it arrived, how it was paid, and when the balance is due.
Say an event costs $1,200 with a 25 percent deposit. You record $300 received on March 2, and $900 due 14 days before the event. Put the balance date on your calendar too, and send a receipt every time. An event planning system that records deposits and payments for each event keeps that running total for you.
Step 5: Collect intake details before the day
Ask for everything once, in one form, about a week before the appointment:
- Salons: allergies, patch test date, hair or skin history, photos of the look they want
- Photographers: who is in the photos, the location, must-have shots
- Events: final guest count, venue access times, vendor contacts, dietary needs
Copy the answers onto the client record, not just a chat thread. A salon management system with allergy warnings and formula notes on each client profile puts them in front of whoever does the service. For a fuller list, see what to keep on every salon client record.
Step 6: Send reminders at fixed points
Pick your reminder points once and use them for every client:
- At booking: the confirmation, with your policies
- A week before: what to bring or prepare (longer jobs only)
- Two days before: time, address, parking
- Before the balance is due: the amount and how to pay
Two days ahead gives a client time to reschedule instead of not turning up. Keep each one as a saved template.
Step 7: Follow up after the job
Within two days, say thank you. Then, depending on your trade:
- Tell them when deliverables will arrive, such as a gallery or an edited video
- Ask for a review while the experience is fresh
- Offer the next booking (in a salon, before they leave the chair)
- Ask who else might need you
Add a line to their record about what went well and what to change next time. If you plan events, an event planning timeline from first inquiry to the day after covers the follow-up stage in more depth.
Paper, spreadsheet or software?
All four options can run this checklist. They differ in effort and in cost over time.
| Option | Good at | Watch out for |
|---|---|---|
| Paper diary and card box | Quick to start, nothing to learn | No search or totals, and one lost page loses a client |
| Spreadsheet and saved replies | Cheap and flexible | You build every column, formula and calendar view yourself |
| Subscription booking app | Online self-booking, automatic text reminders, team logins | A monthly fee for as long as you trade, and records on the company’s servers |
| Ready-made offline system | One-time price, works without internet, records stay on your device | No online booking page or automatic texts, each device keeps its own copy, and you make your own backups |
If clients book themselves online at midnight, or three staff need the same diary from different places, a subscription app earns its fee. If you take bookings yourself from one desk or one laptop, look at the cost over time. An app at, say, $30 a month is $360 a year, every year, and $1,800 over five years.
Build it yourself, or start from a ready-made system
You can build this checklist in a spreadsheet: an inquiries tab with a source column and a booking-rate formula, a quotes tab, a calendar view, deposit and balance columns, an intake section per client and a follow-up date column. Expect an evening or two to set it up, plus repairs whenever a formula breaks.
Or start from something that already has those parts.
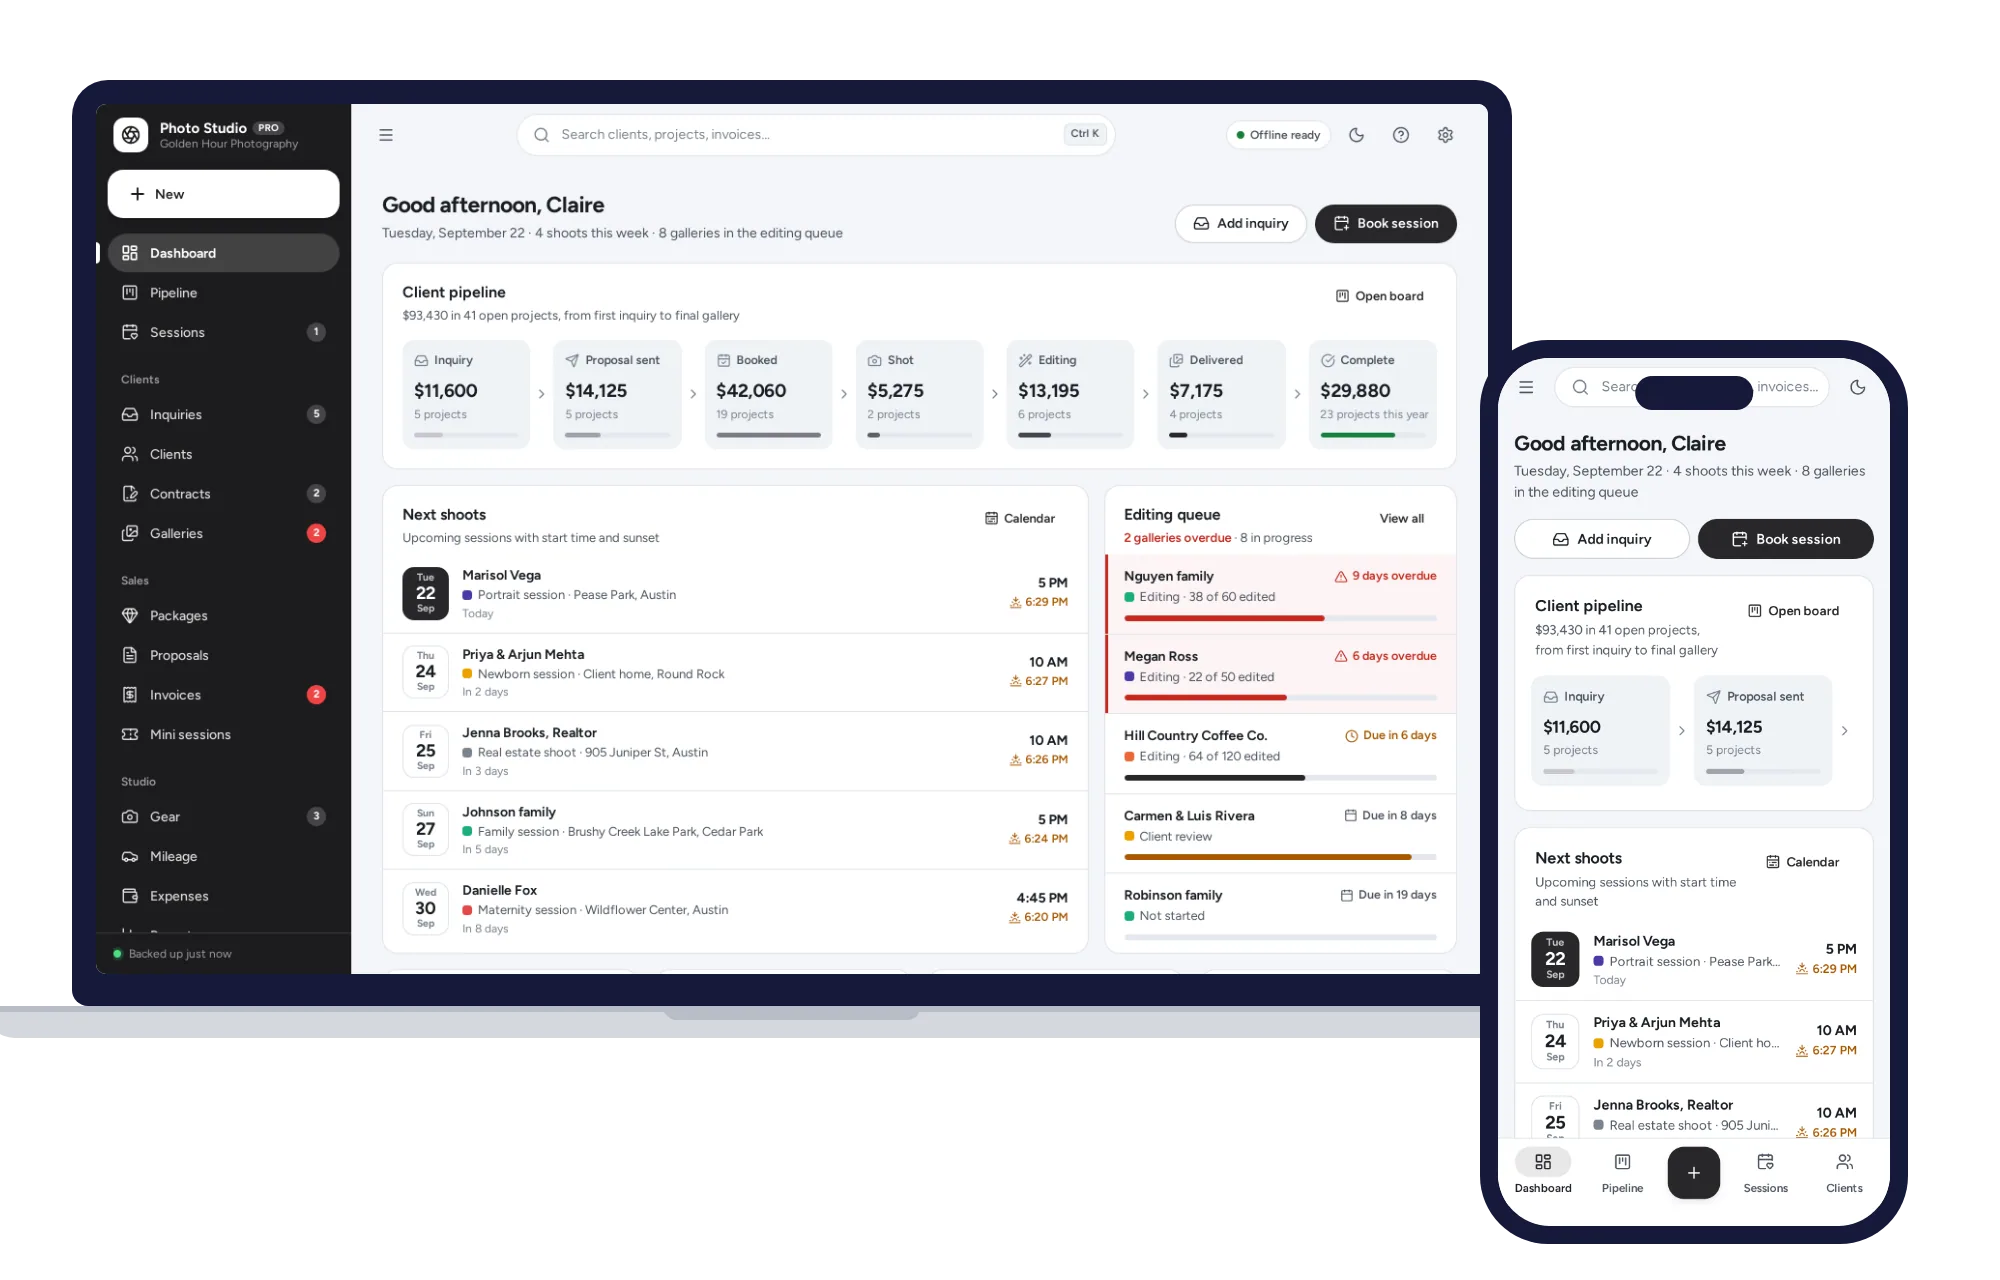
The Photography Studio Manager moves each client through a seven-stage pipeline from inquiry to review, with contract, retainer and gallery status on every card. It has packages with retainers, contracts that fill in the client’s details for you, retainer and balance invoices, and a 10-step checklist per project that ticks itself when invoices are paid.
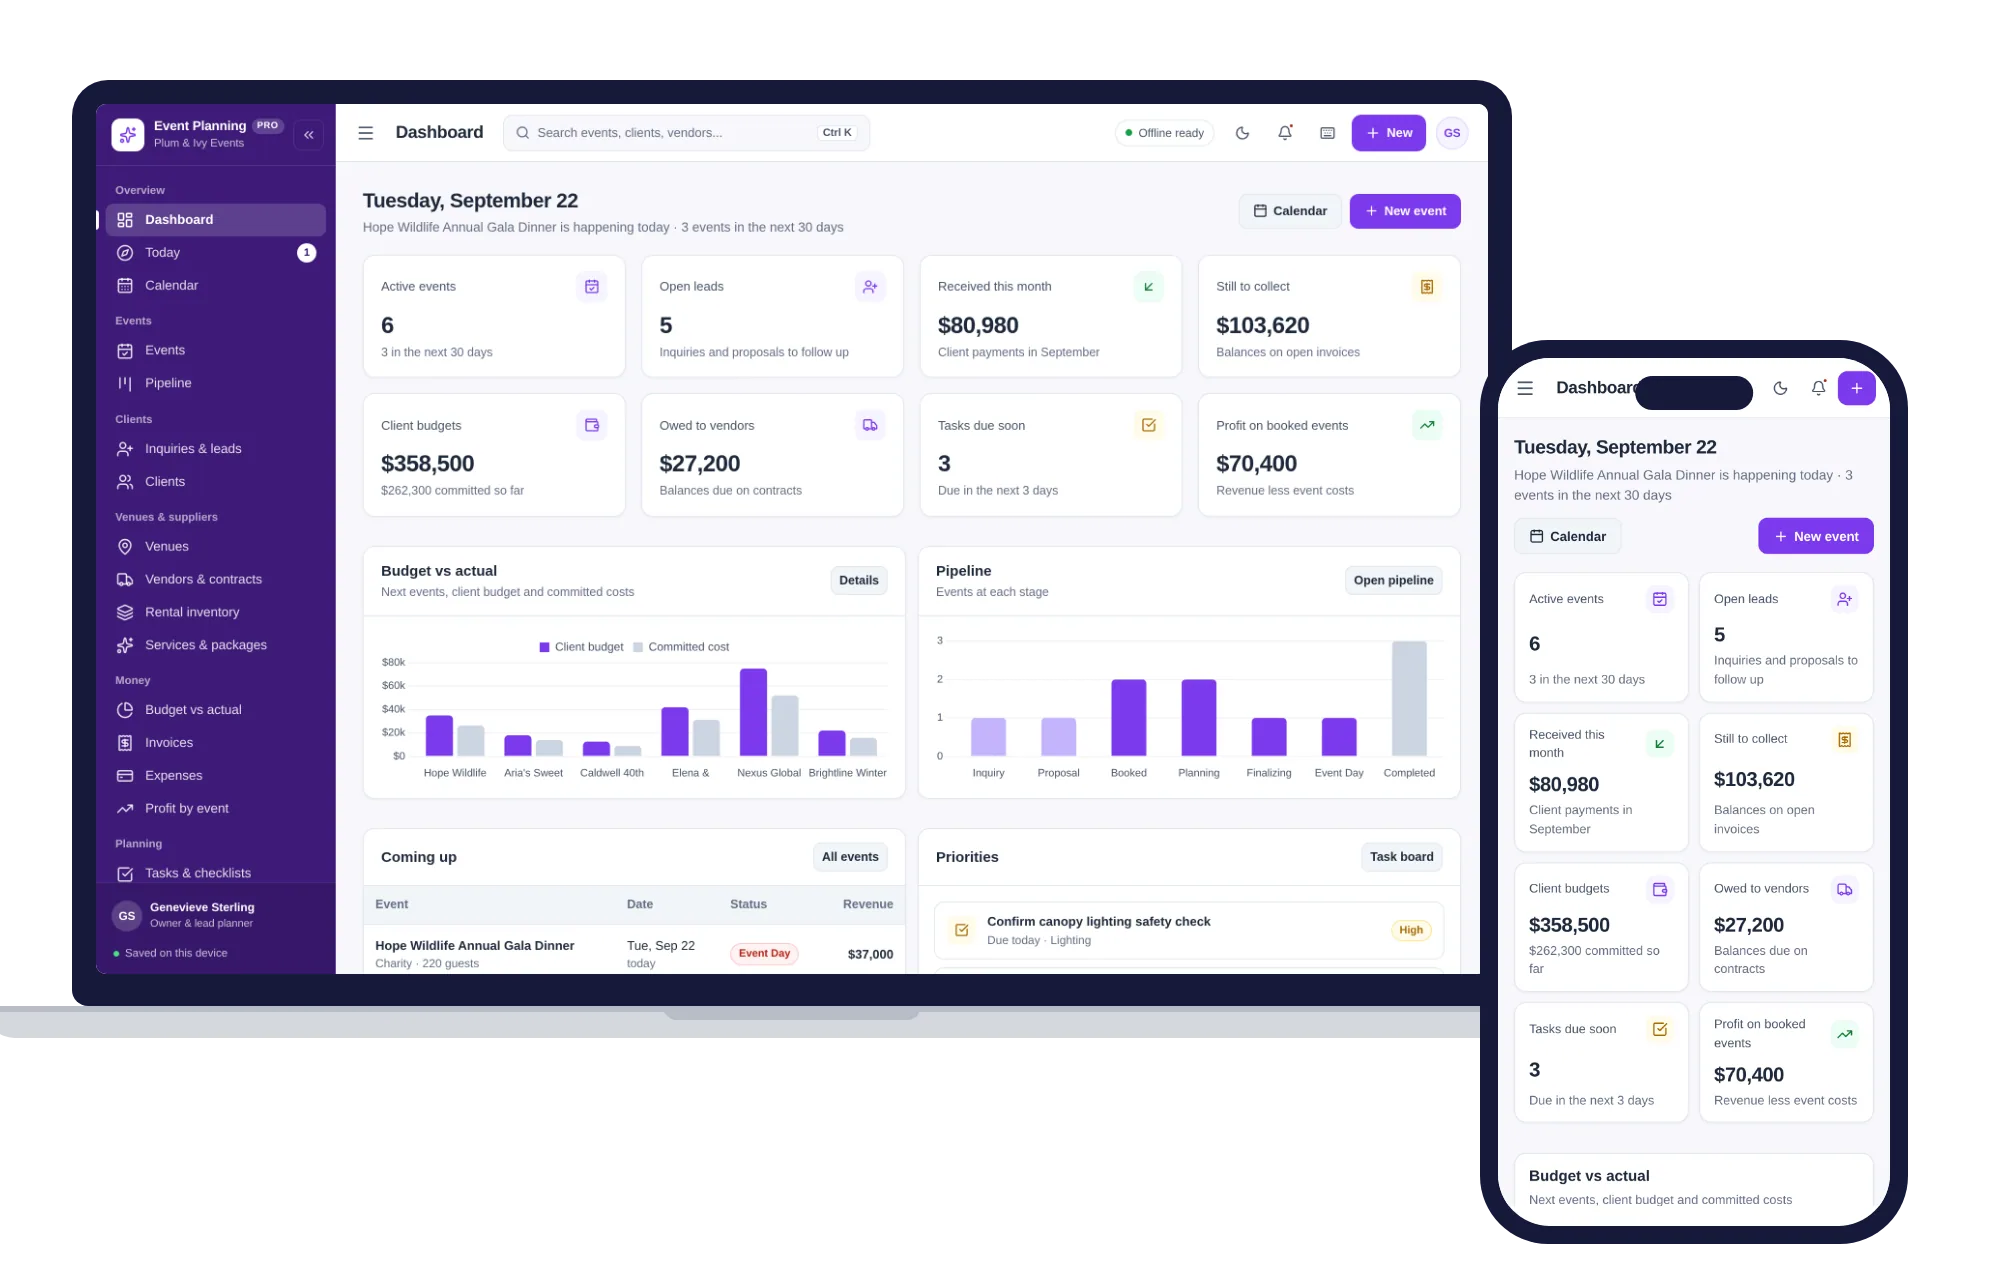
The Event Planning Management System follows each event from first inquiry to event day, with follow-ups on leads, invoices that record deposits and payments, a calendar for meetings and site visits, and venue bookings that stop double bookings.
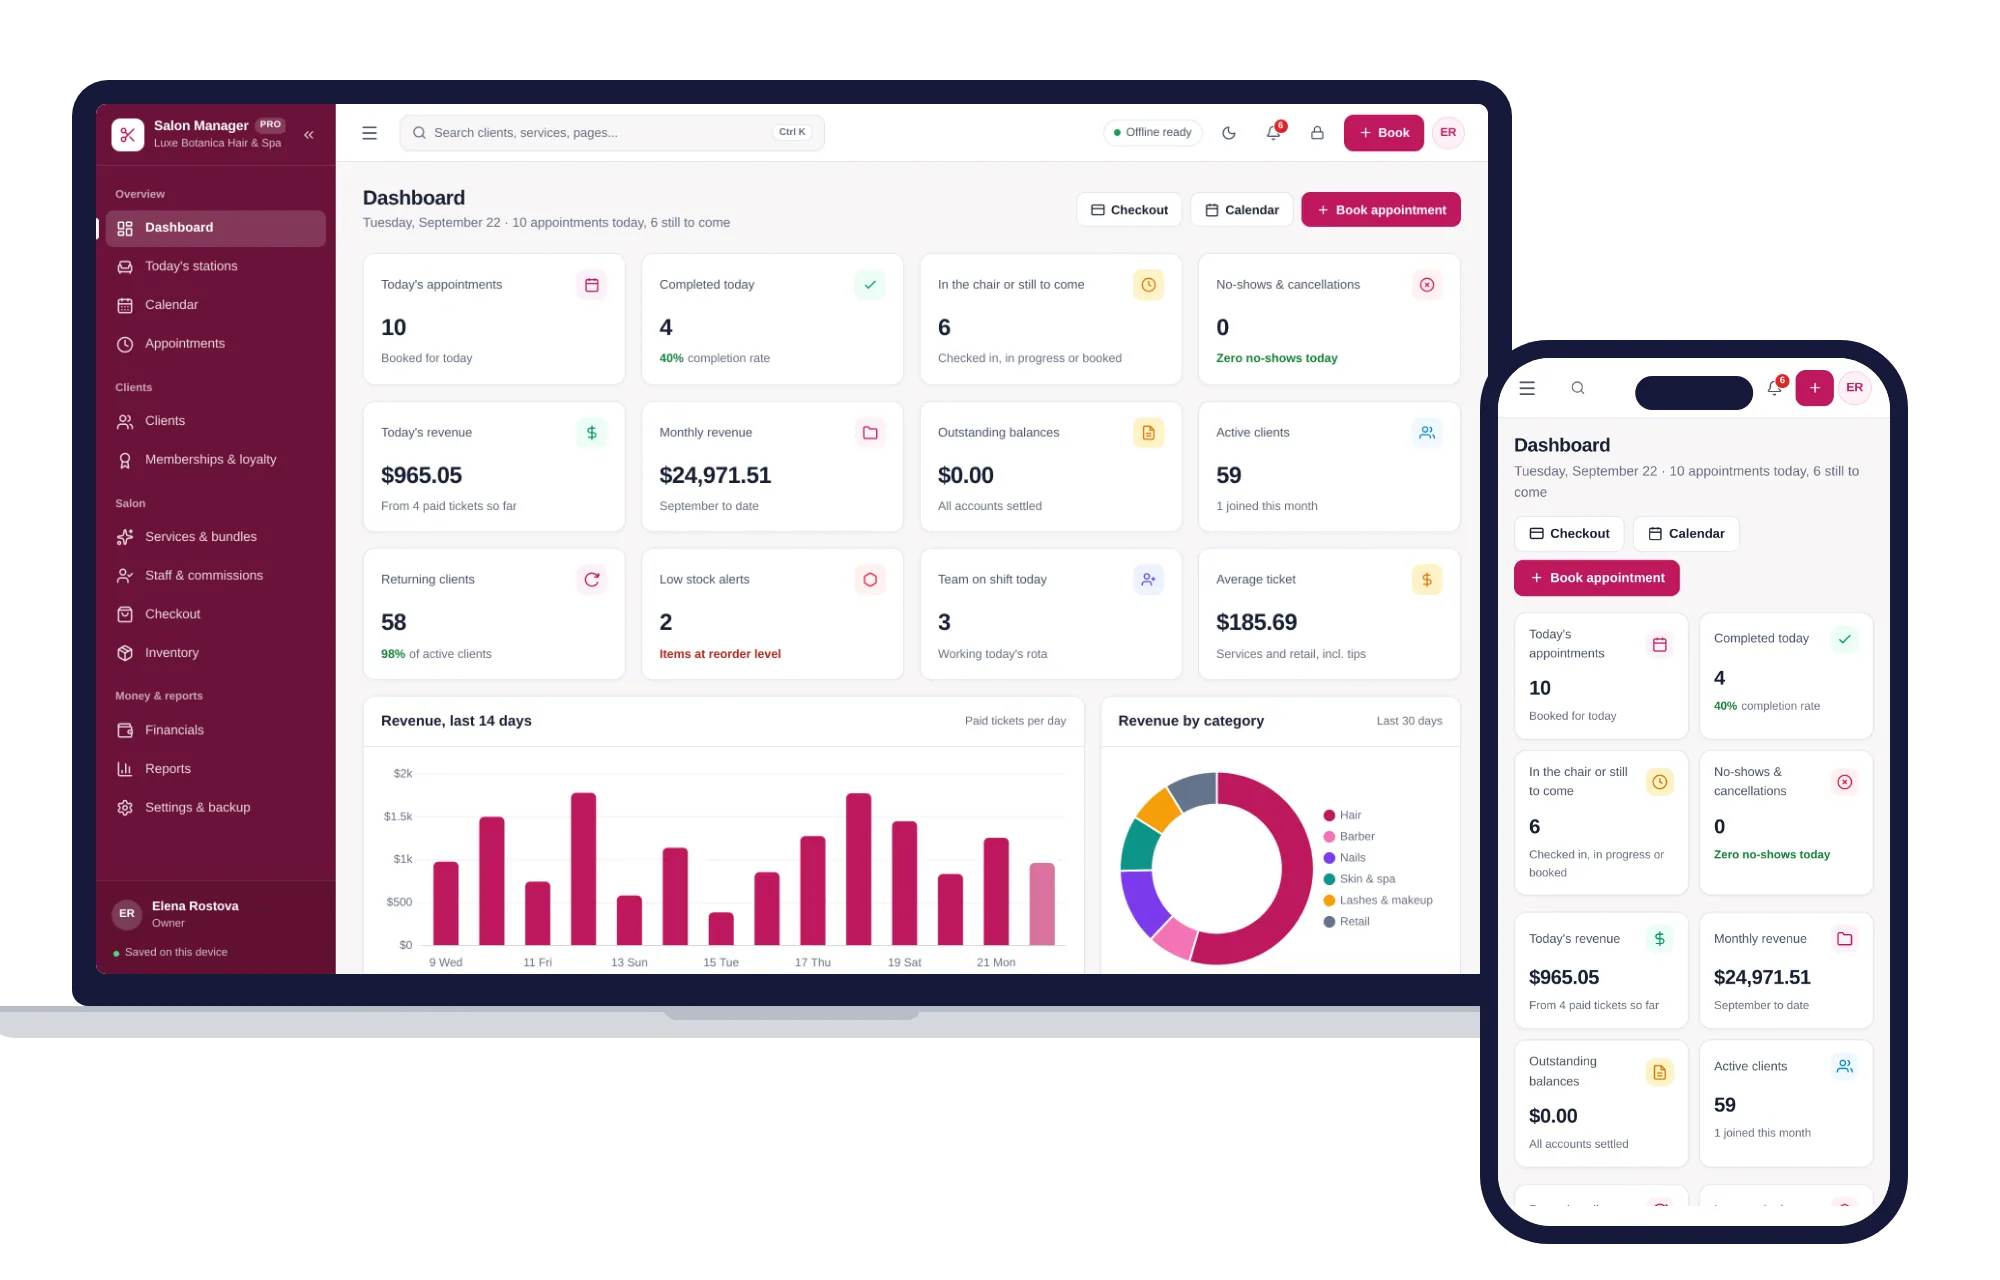
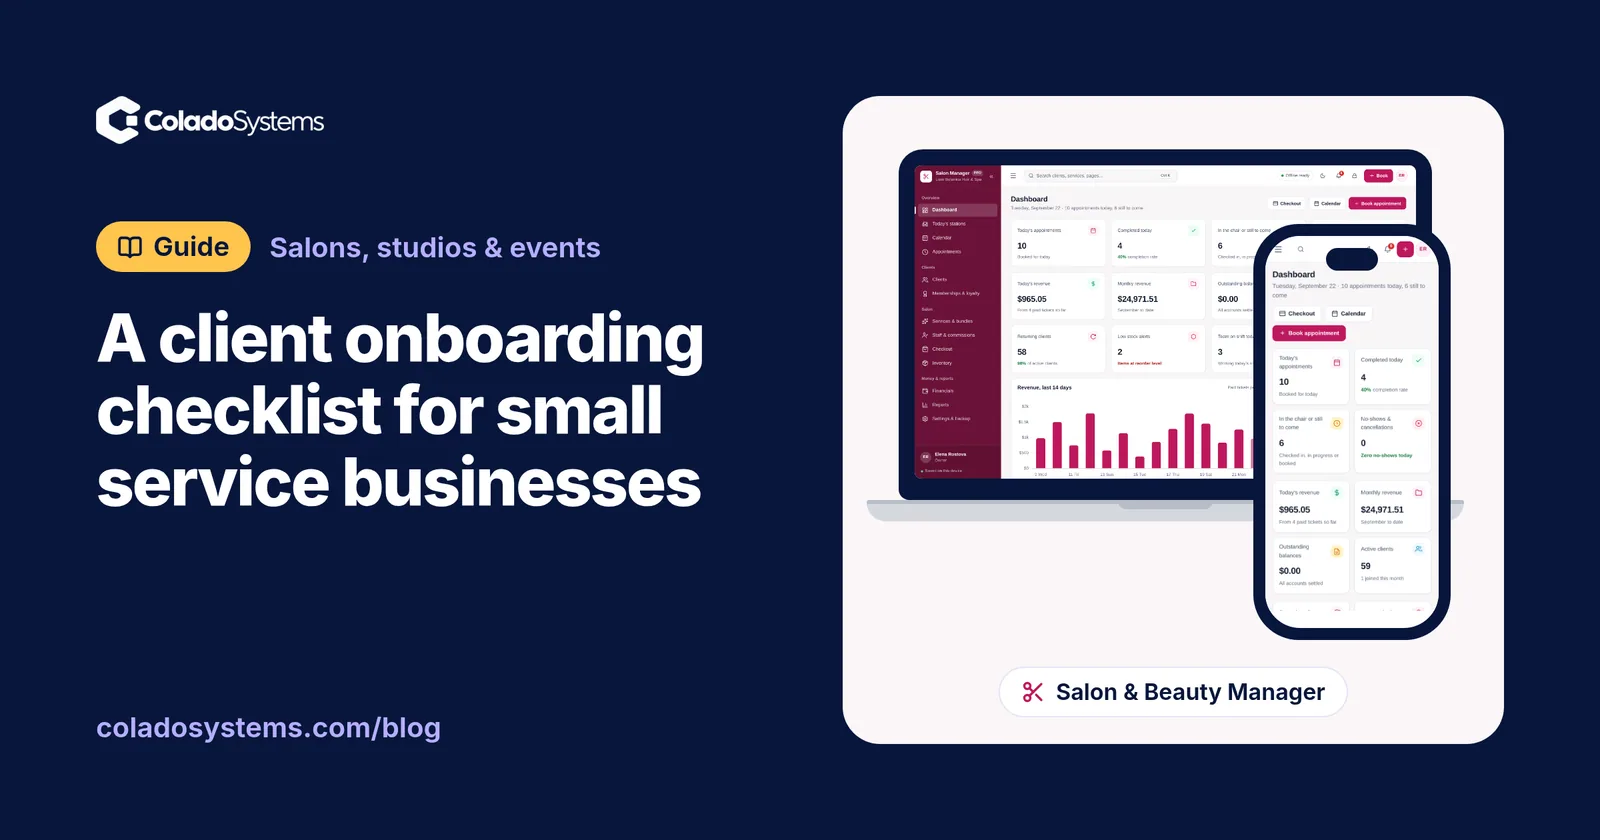
The Salon & Beauty Management System covers booking, check-in and finishing an appointment, a calendar you can filter by team member, client profiles with visit history, formula notes and allergy warnings, and rebooking straight from the profile.
None of them sends text reminders for you or gives clients a page to book themselves. What you get instead is a one-time price, no account to sign up for, and records that stay on your own device and open without internet. Each one opens with sample data, so you can try the steps on sample clients first, and each comes with a PDF guide. All three sit on the salons, studios and events shelf, and that whole shelf also comes as one of the bundles, for less than buying the systems one by one.
Start with the one that fits your trade and put your next real inquiry through every step. You can see everything inside the Photography Studio Manager and try it with the sample data the same day.
Skip the setup
The Salon & Beauty Manager has the records this guide describes already set up. Appointments, stations, clients, memberships, staff commissions and checkout — one offline app.
$29.99 one-time
- Sample data to try it the same day
- Works offline, records stay on your device
- A PDF guide in the download
See everything inside the Salon & Beauty Manager. Or take the whole Salons, studios & events shelf: 6 systems for $99.99, $79 less than one by one.
Common questions
What is a client onboarding process for a small business?
It is the set of steps a new client goes through between first contacting you and finishing their first job with you. For a small service business that usually means answering the inquiry, quoting, confirming the booking, taking a deposit, gathering the details you need, reminding them before the day and following up afterward, all noted on one client record.
How much deposit should I ask for to book a client?
There is no single rule. Many service businesses ask for a fixed amount or a share of the total, enough to cover the time they turn away to hold that slot. Date-specific work such as weddings and events usually carries a larger deposit than a regular appointment. Say clearly whether it is refundable, and check what local consumer rules say about refunds.
When should I send appointment reminders to clients?
A simple pattern covers most service businesses: a confirmation when they book, a preparation note about a week ahead for longer jobs, and a reminder two days before with the time, address and parking. Add a separate message before any balance falls due. A same-day reminder often comes too late for you to fill the slot if they cancel.
Do I need a contract for every client?
Not always. A regular salon appointment usually runs on clear written policies for cancelling, rescheduling and late arrival. Larger or one-off jobs such as weddings, events and photo shoots are better covered by a signed agreement that sets out the work, the price, the deposit and what happens if either side cancels. Have your template reviewed by a lawyer in your region.